
Selecting the right infrastructure can feel like a balancing act, especially when reliable performance and scalability are non-negotiable for your Swiss enterprise. The demands of modern web applications mean every decision impacts uptime, long-term costs, and user satisfaction. By following a structured approach from hardware assessment to security and performance testing, you gain control over your dedicated server environment and create a foundation for sustained growth. Reliable website performance and scalability start here.
Table of Contents
- Step 1: Assess Hardware And Hosting Requirements
- Step 2: Install Operating System And Essential Software
- Step 3: Configure Security And Network Settings
- Step 4: Test Server Performance And Finalize Deployment
Quick Summary
| Key Insight | Explanation |
|---|---|
| 1. Assess Your Hardware Needs | Understanding traffic patterns and future growth helps in selecting an appropriate server configuration. |
| 2. Choose the Right Operating System | Selecting between Windows Server and Linux based on your application requirements impacts performance and stability. |
| 3. Prioritize Security Measures | Configure firewalls, user access, and encryption protocols to protect your data from cyber threats. |
| 4. Conduct Thorough Testing | Perform load testing and validate application functionality before going live to prevent unforeseen issues. |
| 5. Document Everything | Keeping a record of requirements, configurations, and deployment plans aids in future maintenance and troubleshooting. |
Step 1: Assess hardware and hosting requirements
Before selecting a dedicated server, you need to understand what your business actually requires. This assessment prevents overspending on unnecessary resources and ensures you choose infrastructure that grows with your organization.
Start by evaluating your current traffic patterns and expected growth. Look at your website analytics to understand peak visitor numbers, average page load times, and data transfer volumes. If you’re running an e-commerce platform or content management system, factor in database requirements and storage needs for inventory, images, or media files.
Consider the applications and software you’ll run. Different services demand different resources:
- Database servers need high RAM and fast storage
- Web applications require strong CPU performance
- Media streaming demands significant bandwidth
- Development environments benefit from flexible processing power
Take inventory of your team’s technical expertise. Can your IT staff manage server administration, security patches, and monitoring? Or do you need managed hosting support? Understanding system requirements review practices helps clarify what level of support matches your capability.
Your hardware assessment directly impacts performance, costs, and scalability for the next 2-3 years.
Document your requirements in a clear format. Write down processor cores needed, RAM requirements, storage capacity, bandwidth expectations, and any compliance or security needs specific to your industry. This documentation becomes your reference point when comparing server options and vendor proposals.
For Swiss-based enterprises, also consider data residency requirements and latency expectations for your user base. Knowing whether you need servers within Switzerland or if European data centers suffice affects both performance and regulatory compliance.
Pro tip: Build a 30% overhead into your resource calculations to handle unexpected traffic spikes and accommodate feature additions without immediate infrastructure upgrades.
Step 2: Install operating system and essential software
Installing your operating system is where your server truly comes to life. This step establishes the foundation for all applications, security measures, and performance optimization that follows.

Begin by choosing your operating system. Windows Server and Linux are the most common options for dedicated servers. Windows Server works well if your applications rely on Microsoft technologies like Active Directory or SQL Server. Linux offers flexibility, lower licensing costs, and excellent stability for web hosting and development environments.
Prepare your installation media before you start. You’ll need either a bootable USB drive or DVD with your chosen OS. For Windows Server installations, creating a USB installation drive requires an 8GB or larger USB formatted in FAT32, with the OS ISO contents copied to it. For Linux, most distributions provide straightforward ISO downloads ready to burn to media.
Here’s a summary comparing key operating system choices for dedicated servers:
| Operating System | Main Advantages | Typical Use Cases |
|---|---|---|
| Windows Server | Microsoft integration, easy GUI | Enterprise apps, SQL Server |
| Linux | Lower cost, flexible, stable | Web hosting, development |
| Custom Linux | Tailored performance or security | Specialized environments |
Follow these installation steps in order:
- Insert your installation media and restart the server
- Boot from the USB or DVD drive
- Select your language, time zone, and keyboard layout
- Choose your installation drive and partition scheme
- Complete the initial setup wizard
- Install critical security updates immediately after OS installation
Installing security updates immediately after the OS setup closes vulnerabilities before you deploy applications.
Once the operating system is running, install essential software your applications require. This typically includes web servers, database engines, runtime environments, and system utilities specific to your workload. Before deploying any software, ensure you follow Microsoft Server security guidelines or equivalent hardening standards for your chosen platform.
Test connectivity and verify all hardware is recognized correctly. Run diagnostics to confirm your storage, network interfaces, and memory are functioning properly.
Pro tip: Create a system snapshot or backup image immediately after your OS and critical software are installed and secured, allowing you to restore a known-good baseline if problems occur later.
Step 3: Configure security and network settings
Securing your server is not optional—it’s foundational. This step protects your data, applications, and your clients from cyber attacks and unauthorized access.
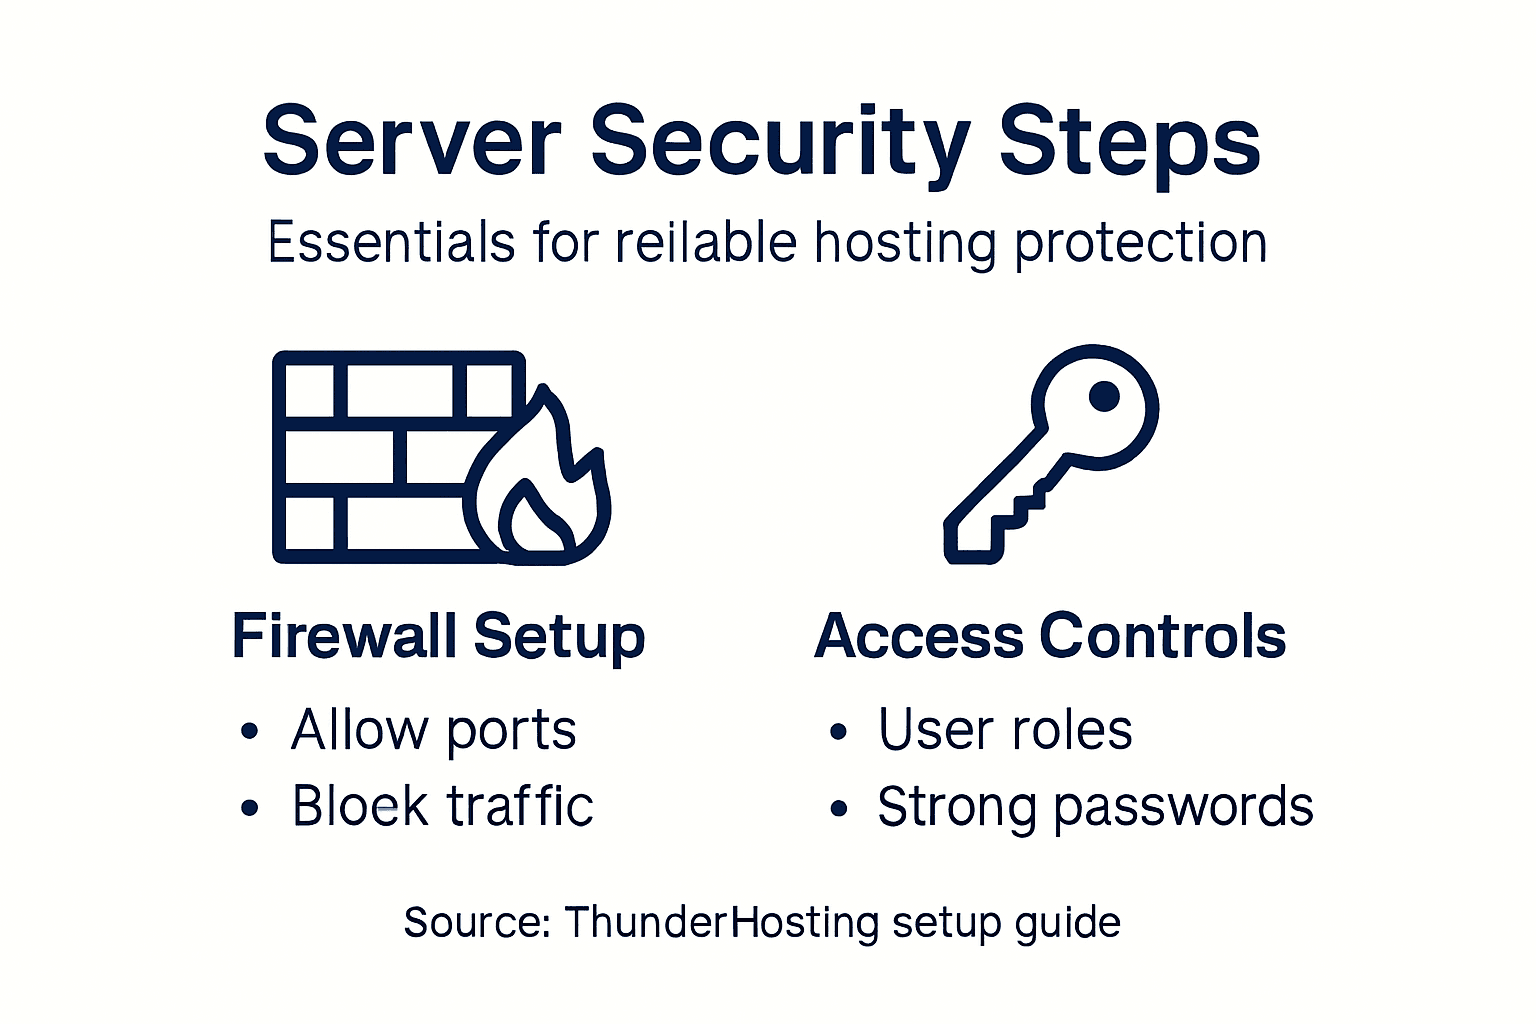
Start by configuring your firewall. A firewall acts as your first line of defense by controlling which traffic reaches your server. Open only the ports your applications actually need. For a web server, that typically means port 80 (HTTP) and 443 (HTTPS). Close everything else.
Set up user accounts and access controls next. Create separate administrator and user accounts rather than running everything as root or administrator. Assign permissions based on what each user actually needs to do. This principle of least privilege limits damage if an account is compromised.
Enable secure remote access protocols. If you need to manage your server remotely, use SSH (Secure Shell) instead of older protocols like Telnet or unencrypted remote desktop. SSH encrypts your login credentials and all commands you send. Change the default SSH port from 22 to something less obvious, which reduces automated attack attempts.
Implement these security essentials:
- Disable unnecessary services and features
- Apply strict access controls and authentication
- Configure network segmentation to isolate critical systems
- Enable automatic security updates
- Use strong passwords or SSH key authentication
Network security follows zero trust principles that assume no connection is trustworthy by default. Every request must be verified and authenticated, even from internal sources.
Strong security from day one prevents catastrophic breaches and keeps your reputation intact.
Configure your server’s IP settings and DNS records. Assign static IP addresses so your server always has the same address. Set up proper DNS records pointing to your server, and verify reverse DNS is working correctly. This prevents your email from being marked as spam.
Test your security configuration by attempting to connect from outside your network. Verify you can reach your intended ports but cannot access restricted ones.
Pro tip: Use a configuration management tool to document all your security settings, making it easy to replicate this secure baseline across multiple servers or recover quickly if something breaks.
Step 4: Test server performance and finalize deployment
Before moving your applications to production, you need to verify everything works under real-world conditions. This testing phase catches problems while you still have time to fix them.
Start by running load testing. Use tools to simulate the traffic your server will actually handle. If you expect 500 concurrent users, test with 500 concurrent users. Monitor CPU usage, memory consumption, disk I/O, and network bandwidth during these tests. This reveals whether your hardware meets your performance requirements.
Test your applications thoroughly in a staging environment that mirrors production. Run through every critical workflow—user registration, payments, data uploads, whatever matters most to your business. Check that databases respond quickly, files transfer reliably, and error pages display correctly.
Create a deployment plan that documents your entire rollout strategy. Include your acceptance criteria, testing procedures, and who is responsible for each task. Outline your rollback procedures in case something goes wrong during the actual deployment.
Perform these validation checks before going live:
- Verify all applications start automatically after server restart
- Confirm backup systems are running and storing data correctly
- Test failover procedures to ensure redundancy works
- Check that monitoring and alerting systems are active
- Validate DNS, SSL certificates, and domain configurations
- Run security scans to catch any vulnerabilities you missed
Comprehensive testing before launch prevents expensive outages and protects your reputation.
Set up comprehensive monitoring before deployment. Install tools that track server health, application performance, error rates, and user experience. These metrics reveal problems before your users discover them.
Schedule your deployment during a maintenance window when traffic is lowest. Have your entire team available to respond if issues arise. Execute your deployment plan step by step, testing at each stage.
Pro tip: Deploy to a small percentage of users first through canary deployment, allowing you to catch problems affecting only a few people before they impact everyone.
Simplify Your Dedicated Server Setup with ThunderHosting
Setting up a dedicated server can feel overwhelming when you consider hardware needs, operating system installation, and locking down security. The detailed steps in the “Dedicated Server Setup Guide for Reliable Hosting Success” highlight common challenges like resource planning, managing complex configurations, and performing performance testing. You need reliable infrastructure that grows with your business without constant worry about technical pitfalls or downtime.
At ThunderHosting, we specialize in making dedicated server hosting straightforward for businesses across Switzerland and beyond. Our scalable solutions come with expert support to handle your server setup from hardware selection through security hardening and performance optimization. Benefit from our global data centers in Germany, Singapore, and the US for low-latency access, and enjoy hassle-free customization tailored to your application needs. Whether you want a robust platform for your e-commerce site, a high-performance development environment, or secure data residency within Europe, ThunderHosting is your trusted partner. Learn more about how we streamline dedicated server management and help you avoid costly missteps.
Take control of your hosting success today by choosing a provider that understands your unique technical requirements. Visit ThunderHosting now and experience reliable, scalable dedicated hosting with comprehensive support that keeps your online infrastructure running flawlessly.
Frequently Asked Questions
How do I assess my hardware and hosting requirements for a dedicated server?
To assess your hardware and hosting requirements, start by evaluating your current website traffic patterns and expected growth. Document key metrics such as peak visitor numbers, average page load times, and database storage needs to ensure your server meets both present and future demands.
What operating system should I install on my dedicated server?
The choice of operating system depends on your specific needs. If you rely on Microsoft technologies, opt for Windows Server; for flexibility and lower licensing costs, choose Linux. Prepare your installation media based on your selection and follow the installation steps closely.
How can I secure my dedicated server after installation?
To secure your dedicated server, configure your firewall to limit incoming traffic to only necessary ports. Create separate user accounts with restricted permissions, and enable secure remote access protocols like SSH to protect against unauthorized access.
What steps should I take to test my server’s performance before deployment?
Before deployment, run load testing to simulate expected user traffic and monitor resource usage. Validate that all applications function correctly in a staging environment and ensure backup systems are operational.
How can I create a deployment plan for moving my applications to production?
Develop a deployment plan documenting your rollout strategy, including acceptance criteria and testing procedures. Outline specific tasks and responsible team members to ensure a organized deployment process with backup procedures in place in case of issues.
What monitoring tools should I set up for my dedicated server?
Set up comprehensive monitoring tools to track server health, application performance, and user experience metrics. Monitor important indicators like error rates and resource utilization to identify and resolve potential issues proactively.